A Step-by-Step Guide to Setting Up Your Trézor Hardware Wallet at Trézor.io/Start
As the cryptocurrency market continues to evolve, securing your digital assets is more important than ever. Whether you’re a seasoned investor or just starting your crypto journey, ensuring the safety of your assets is essential. The Trézor hardware wallet provides one of the most secure and convenient ways to protect your cryptocurrencies.
If you’ve recently purchased a Trézor hardware wallet (like the Trézor Model T or Trézor One), the next step is to get it set up properly. Trézor.io/Start is the official platform for setting up your device, guiding you through every necessary step to ensure your crypto is stored securely.
In this guide, we’ll walk you through the entire process of setting up your Trézor wallet at Trézor.io/Start, ensuring you can begin managing your cryptocurrencies with confidence.
What is Trézor and Why Should You Use It?
A Trézor wallet is a physical device that stores your cryptocurrency’s private keys offline. By keeping your keys in a secure, offline environment, it significantly reduces the risk of hacking, phishing attacks, and other online threats that have become prevalent in the crypto world. When it comes to protecting your assets, Trézor hardware wallets offer a level of security that software wallets and exchanges simply cannot match.
Trézor supports over 1,600 cryptocurrencies, including popular digital assets like Bitcoin (BTC), Ethereum (ETH), Litecoin (LTC), and many others. It also supports NFTs and various DeFi (Decentralized Finance) protocols, making it a versatile option for all types of crypto holders.
Advantages of Using Trézor Hardware Wallet
Here are a few reasons why Trézor hardware wallets stand out among the competition:
1. Offline Storage for Maximum Security
The most significant benefit of using a Trézor hardware wallet is the offline storage of your private keys. When you store your keys offline, they are less vulnerable to online attacks. This added layer of security ensures that even if your computer or smartphone is compromised, your private keys remain secure.
2. Wide Cryptocurrency Support
Whether you're investing in Bitcoin, Ethereum, or a lesser-known altcoin, Trézor wallets offer extensive support for more than 1,600 cryptocurrencies. This includes various coins and tokens from different blockchains, making it an ideal option for diversified crypto portfolios.
3. Easy-to-Use Interface
Setting up and managing your Trézor wallet is simple, even for beginners. The user-friendly interface allows you to manage your assets, check your balances, and complete transactions with just a few clicks. With Trézor.io/Start, you’ll be guided through the entire setup process step by step.
4. Secure Backup and Recovery
During the setup, you’ll receive a recovery seed – a 12 to 24-word phrase that can be used to restore access to your wallet if your device is lost, stolen, or damaged. This ensures that your assets are recoverable, giving you peace of mind.
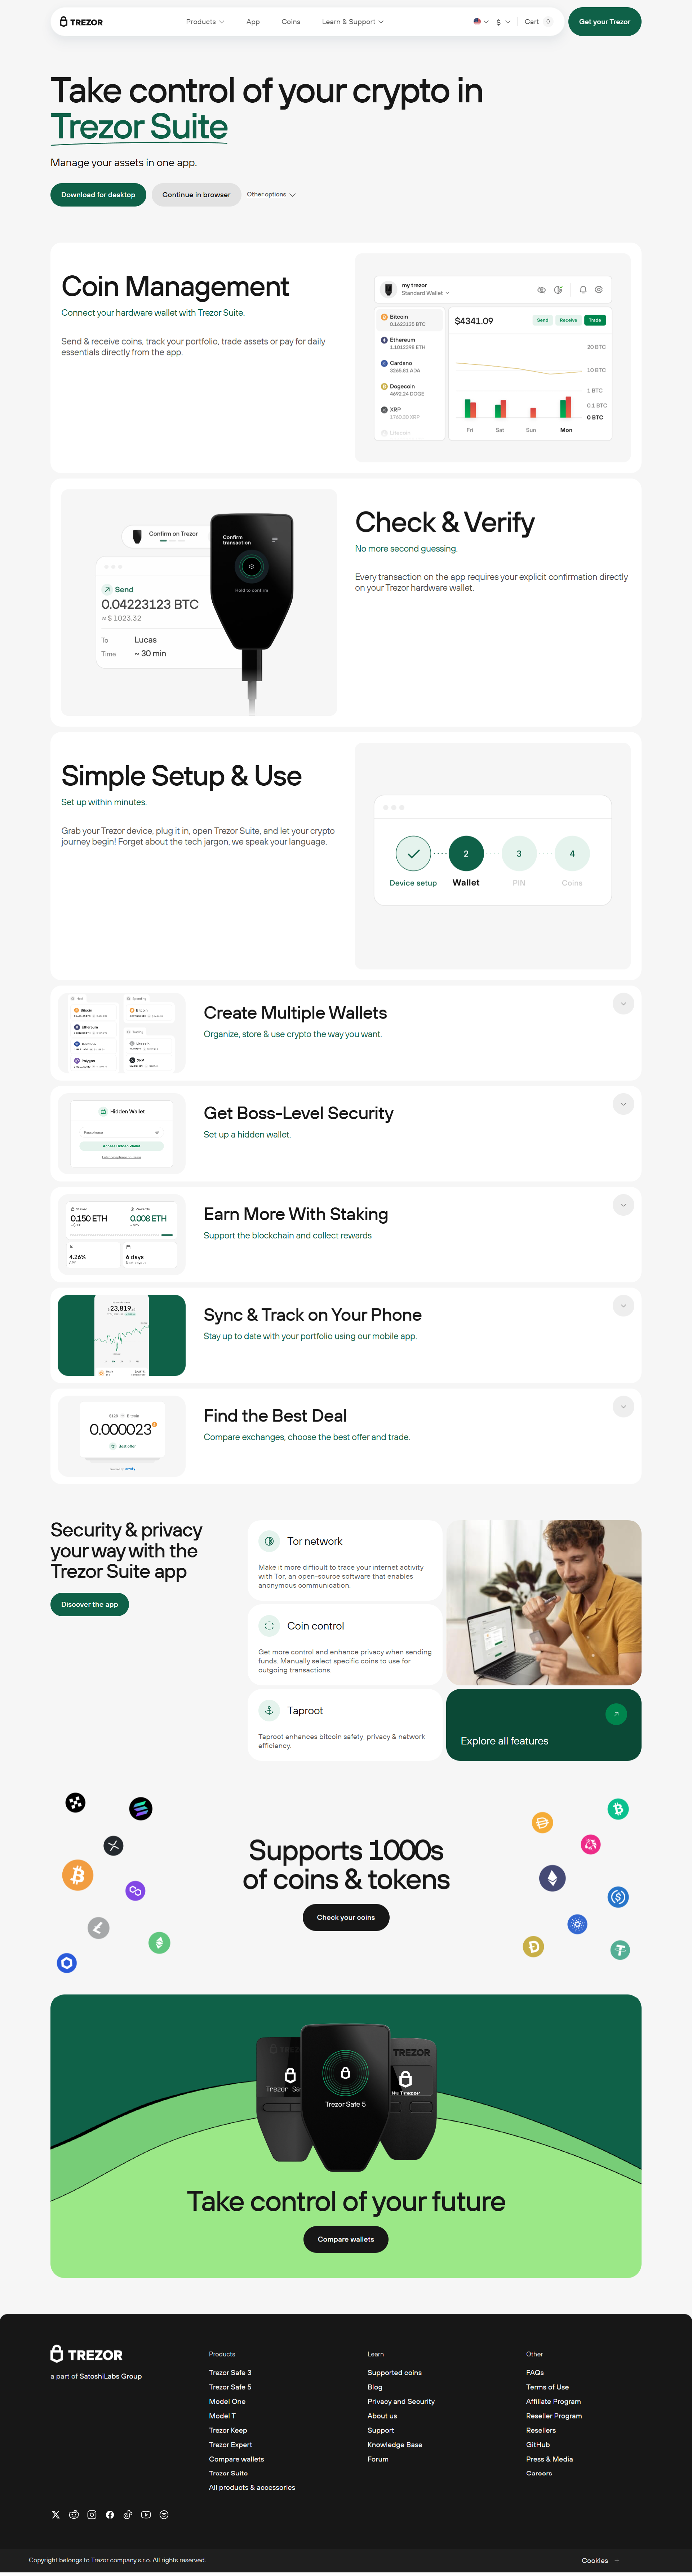
5. Trézor Suite for Full Control
The Trézor Suite is the companion software for your device, offering a sleek interface for managing your cryptocurrency securely. Whether you use it on your desktop or mobile device, the Trézor Suite allows you to send, receive, and check the balance of your cryptocurrencies, along with other features like transaction history and account management.
How to Set Up Your Trézor Hardware Wallet via Trézor.io/Start
Setting up your Trézor hardware wallet is quick and easy. Here’s how you can get started:
Step 1: Visit Trézor.io/Start
The first thing you need to do is visit the official Trézor setup page: Trézor.io/Start. This page will walk you through the process and provide all the necessary tools and software to initialize your wallet.
- On Trézor.io/Start, select the model of your Trézor device (either Trézor One or Trézor Model T).
- Download the Trézor Suite (available for Windows, macOS, and Linux). The Trézor Suite is a powerful tool for managing your crypto securely.
Step 2: Connect Your Device
Once the Trézor Suite is installed, you’ll need to connect your Trézor hardware wallet to your computer or mobile device. Follow the on-screen instructions to connect your device securely via USB (for Trézor One) or via USB-C or Bluetooth (for Trézor Model T).
Step 3: Set Up Your Device
Now that your device is connected, the next step is to initialize your Trézor hardware wallet:
- Create a PIN: For security, you will be prompted to create a PIN code for your Trézor wallet. This PIN will be used each time you access your device.
- Generate Recovery Seed: Your Trézor device will generate a recovery seed consisting of 12 to 24 words. This recovery seed is your backup in case your device is lost or damaged. Write down the recovery seed on paper and store it safely—do not store it digitally or share it with anyone.
- Verify Recovery Seed: After writing down your recovery seed, you will need to verify it on your Trézor device. This step ensures that you have securely backed up your recovery seed.
Step 4: Install Cryptocurrency Apps
Once your device is set up, you can begin installing apps for the cryptocurrencies you want to manage. This is done through the Trézor Suite:
- Open the Trézor Suite and navigate to the Device tab.
- In the Apps section, browse the list of supported cryptocurrencies and install the apps for the coins you hold.
- You can install apps for Bitcoin, Ethereum, Litecoin, and more. You can install as many apps as you need for different cryptocurrencies.
Step 5: Start Using Your Trézor Wallet
Once your Trézor hardware wallet is set up, you’re ready to start managing your cryptocurrencies:
- Check your balances: The Trézor Suite allows you to see the current balance of your cryptocurrencies.
- Send and receive crypto: You can securely send and receive cryptocurrencies with just a few clicks.
- Track your transactions: The Trézor Suite keeps a record of all your transactions, providing an easy way to track your crypto activity.
Security Best Practices for Your Trézor Wallet
While your Trézor wallet offers strong protection for your digital assets, it’s essential to follow some best practices for even greater security:
- Keep your recovery seed safe: The 12 to 24-word recovery seed is your only backup for restoring your wallet. Store it offline in a safe location, like a fireproof safe or safety deposit box.
- Enable a strong PIN: Use a unique, strong PIN for accessing your device to add an extra layer of security.
- Use multi-factor authentication (MFA): For added protection, consider enabling multi-factor authentication on your Trézor Suite account.
- Update your device regularly: Make sure to install firmware updates for your Trézor hardware wallet when prompted. These updates often include important security improvements.
Conclusion
Securing your cryptocurrency with a Trézor hardware wallet is one of the best ways to ensure your assets remain safe from online threats. By following the easy steps outlined in this guide via Trézor.io/Start, you can quickly set up your device and begin managing your crypto portfolio securely.